
The right ceiling lamp doesn’t just light a room, it defines how you live in it. Modern living rooms demand fixtures that balance ambient lighting, visual impact, and architectural harmony. Whether you’re replacing a builder-grade boob light or planning a full renovation, today’s ceiling lamps offer smarter technology, cleaner lines, and better energy performance than ever before. This guide walks through the styles, sizing rules, and installation steps that’ll help DIYers choose and install fixtures that actually work for the space.
Table of Contents
ToggleKey Takeaways
- Modern ceiling lamps for living rooms provide essential ambient lighting while serving as visual anchors that define space, draw the eye upward, and make standard ceilings feel taller in open-concept homes.
- Size ceiling fixtures by adding room length and width in feet and converting to inches (a 14′ × 16′ room needs approximately a 30-inch diameter fixture), and position them above the main seating area rather than the geometric room center.
- Choose a warm color temperature between 2700K to 3000K for cozy living spaces, and calculate brightness needs at 1,500 to 3,000 lumens per 150-square-foot area depending on ceiling color and window coverage.
- LED ceiling lamps consume 15 to 40 watts versus 100 to 300 watts for incandescent equivalents, lasting 25,000+ hours and offsetting upfront costs through long-term energy savings within 15 years.
- Inspect and reinforce the junction box before installation to ensure it supports your fixture’s weight, use a fan-rated or reinforced box for fixtures over 50 pounds, and always shut off power at the breaker before beginning any electrical work.
- Smart-enabled modern ceiling lamps with Wi-Fi or Zigbee integration add $30 to $100 to the fixture cost but eliminate the need for separate switches, offering dimming, scheduling, and voice assistant compatibility.
Why Modern Ceiling Lamps Are Essential for Living Room Design
Ceiling lamps serve as the backbone of layered lighting in any living room. Unlike table lamps or floor lamps, ceiling fixtures provide ambient light that fills the entire space, critical for evening activities, from reading to entertaining. Modern designs solve the problems older fixtures couldn’t: they distribute light more evenly, minimize glare, and integrate dimming and smart controls.
A well-chosen fixture also acts as a visual anchor. In open-concept homes where the living room bleeds into dining and kitchen zones, the ceiling lamp helps define territory without walls. It draws the eye upward, making standard 8-foot ceilings feel taller and giving high ceilings a sense of scale.
From a practical standpoint, modern fixtures use LED modules or integrated drivers that last 25,000+ hours, roughly two decades of typical use. That’s fewer ladder trips, less waste, and lower utility bills compared to incandescent or halogen options. If the home was built before 2010, the existing fixture box might not support heavier chandeliers or require a ceiling fan brace: always check the junction box rating (usually stamped on the box itself) before buying a new lamp.
Top Styles of Modern Ceiling Lamps to Consider
Minimalist Flush Mount and Semi-Flush Fixtures
Flush mounts sit tight against the ceiling, making them ideal for rooms with 8-foot ceilings or where ceiling fans already occupy vertical space. Semi-flush fixtures hang 4 to 8 inches below the ceiling on a short stem or bracket, adding dimension without eating into headroom.
Look for fixtures with frosted acrylic or opal glass diffusers to prevent harsh shadows. Metal finishes, matte black, brushed nickel, aged brass, should match other hardware in the room (door levers, switch plates, curtain rods). Many affordable modern wall sconces under $100 share finishes with ceiling fixtures, making it easy to coordinate ambient and accent lighting.
Flush and semi-flush lamps work best in square or rectangular living rooms under 250 square feet. For larger spaces, they may need supplemental task lighting or a second fixture to avoid dark corners.
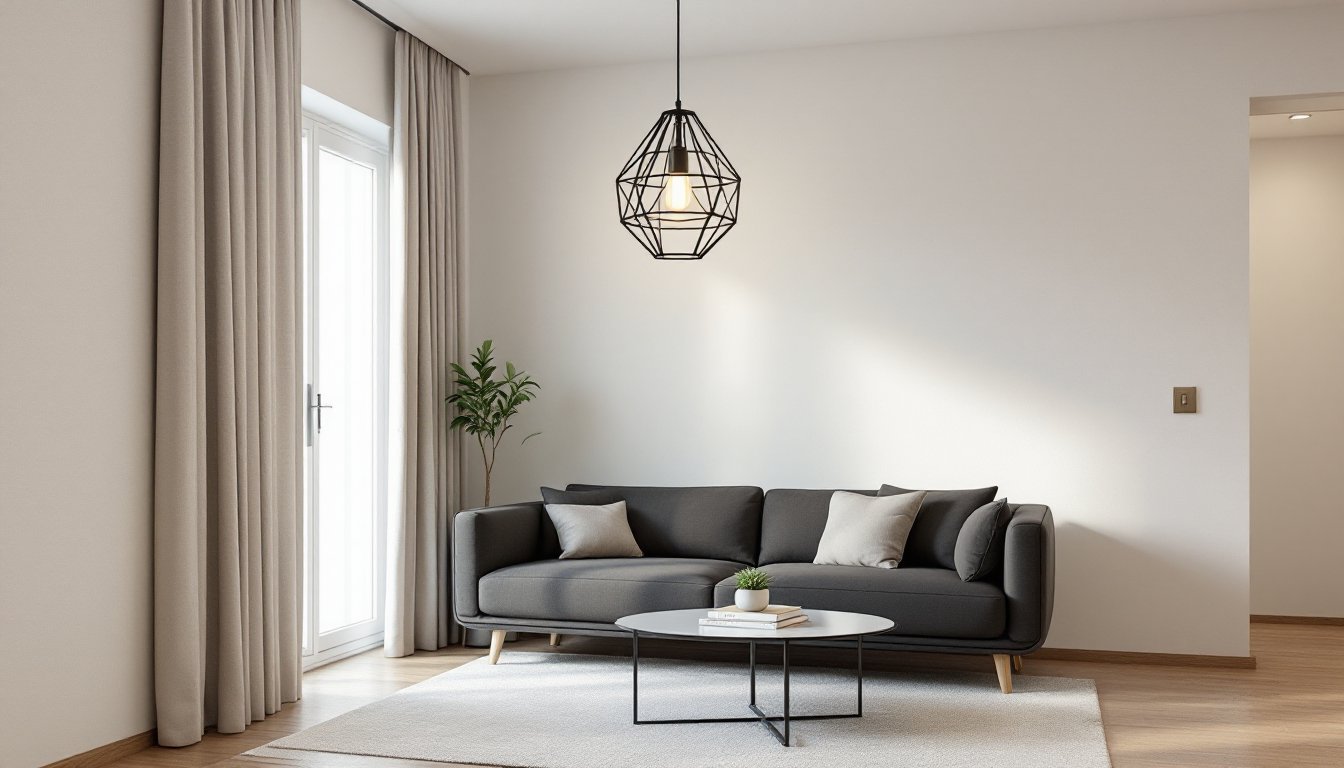
Statement Chandeliers and Pendant Clusters
Chandeliers and multi-pendant setups bring drama and scale. Modern interpretations skip the crystals and candelabra bulbs in favor of geometric frames, linear arrangements, and sculptural forms. Materials range from powder-coated steel and wood dowels to hand-blown glass and concrete.
Installing a chandelier typically means the bottom of the fixture should hang 30 to 36 inches above coffee table height to maintain sightlines across the room. In rooms with vaulted or cathedral ceilings, use adjustable downrods or cable to bring the fixture into the 7- to 8-foot range from the floor, any higher and the light won’t reach seating areas effectively.
Pendant clusters, often three or five fixtures on a shared canopy, let homeowners customize drop lengths and bulb types. They’re especially popular over sectional sofas or in loft-style spaces where modern chandeliers serve as the primary focal point. Just verify the junction box can handle the combined weight: standard boxes support up to 50 pounds, but heavier fixtures require a fan-rated or reinforced box.
How to Choose the Right Size and Placement
The most common sizing mistake is going too small. A general rule: add the room’s length and width in feet, then convert that sum to inches for the fixture’s diameter. A 14′ × 16′ living room suggests a fixture around 30 inches in diameter. For rectangular rooms, consider an elongated or linear fixture that mirrors the room’s proportions.
Ceiling height matters. In rooms with 9- to 10-foot ceilings, semi-flush or short-drop chandeliers work well. Above 10 feet, longer pendants or tiered chandeliers fill vertical space without looking lost. If the ceiling is sloped or vaulted, use a swivel canopy adapter to keep the fixture plumb.
Placement should center on the main seating area, not necessarily the geometric center of the room. In L-shaped or open layouts, position the fixture above the coffee table or area rug that defines the living zone. For rooms with ceiling fans, install the fan on one side and a pendant or flush mount on the other to maintain balanced light distribution.
Always leave at least 7 feet of clearance from the floor to the bottom of any hanging fixture in walkways, more if household members are over 6 feet tall. Measure twice, and mock up the fixture height with painter’s tape or a cardboard template before drilling.
Lighting Technology and Energy Efficiency Features
Most modern ceiling lamps ship with integrated LEDs or are rated for LED bulb retrofits. Integrated fixtures eliminate the need for bulb replacements but can’t be upgraded: if the LED module fails after warranty (typically 3–5 years), the entire fixture may need replacing. Retrofittable sockets offer flexibility, homeowners can swap in higher-CRI bulbs, adjust color temperature, or upgrade to smart bulbs later.
Color temperature is measured in Kelvin. For living rooms, 2700K to 3000K (warm white) mimics incandescent light and suits relaxed, cozy spaces. 3500K to 4000K (neutral white) works in modern interiors with cooler palettes or abundant natural light. Avoid anything above 5000K in living areas, it reads as clinical.
Lumens, not watts, measure brightness. A 150-square-foot living room needs roughly 1,500 to 3,000 lumens of ambient light, depending on ceiling color, window coverage, and supplemental lighting. Dimmer compatibility is essential: verify the fixture supports 0–10V or TRIAC dimming if you’re installing a dimmer switch. Not all LEDs dim smoothly, cheap drivers flicker or drop out below 20%.
Some fixtures now include integrated smart controls, Wi-Fi modules, Zigbee radios, or Bluetooth, that let users adjust brightness, set schedules, and sync with voice assistants. These features add $30 to $100 to the fixture cost but eliminate the need for separate smart switches or hubs. Just make sure the fixture connects to the ecosystem already in use (HomeKit, Alexa, Google Home).
From an energy standpoint, LED ceiling lamps draw 15 to 40 watts compared to 100 to 300 watts for equivalent halogen or incandescent fixtures. Over a 15-year lifespan, the savings cover the upfront cost difference, especially in regions with high electricity rates.
Installation Tips for DIY Homeowners
Before starting any electrical work, shut off power at the breaker, not just the wall switch, and verify it’s off with a non-contact voltage tester. Most ceiling lamp installations take 30 to 90 minutes, depending on fixture complexity.
Tools you’ll need:
- Non-contact voltage tester
- Wire strippers
- Screwdrivers (flathead and Phillips)
- Adjustable wrench or pliers
- Ladder rated for your weight plus 50 pounds
- Wire nuts (often included with the fixture)
- Electrical tape
Step-by-step process:
-
Remove the old fixture. Unscrew the canopy, disconnect wire nuts, and lower the fixture. Note how wires are connected (typically black to black, white to white, bare copper or green to ground).
-
Inspect the junction box. Check for cracks, loose mounting, or inadequate support. If the box wobbles or the fixture weighs over 50 pounds, install a fan-rated or pancake box anchored to a ceiling joist or blocking. For plaster or drywall ceilings with no joist access, use an old-work fan brace that spans between joists.
-
Assemble the mounting bracket. Most modern fixtures use a crossbar that screws into the junction box’s threaded holes. The crossbar holds a center stud or threaded nipple that the canopy mounts to. Follow the manufacturer’s instructions, some use a twist-lock mechanism instead.
-
Connect the wires. Match fixture wires to house wires: black (hot) to black, white (neutral) to white, and ground wire (bare copper or green) to the ground screw or bare wire in the box. Twist connections clockwise, secure with wire nuts, and wrap the base of each nut with electrical tape. Tuck wires neatly into the box, overcrowding can pinch insulation and create fire hazards.
-
Attach the canopy and test. Slide the canopy over the mounting hardware and tighten set screws or cap nuts. Restore power at the breaker and test the fixture with a wall switch or pull chain. If it doesn’t light, shut off power and recheck wire connections.
Safety notes: Wear safety glasses when working overhead. If the ceiling is textured or popcorn finish contains asbestos (common in homes built before 1980), avoid disturbing it during installation. When in doubt, hire a licensed electrician, most jurisdictions require permits for new circuit runs or junction box relocations.
Some modern fixtures require a remote driver or transformer installed in the junction box or attic. These add complexity: if you’re uncomfortable with low-voltage wiring or tight box fills that exceed NEC limits, get professional help. DIY saves money, but code violations or improper grounding aren’t worth the risk.